The Rifle Cleaning Kit was introduced
in 1934.
It consisted of a thin sheet metal box
Its dimensions are aprox. 8,5 cm wide by 13,5 cm length.
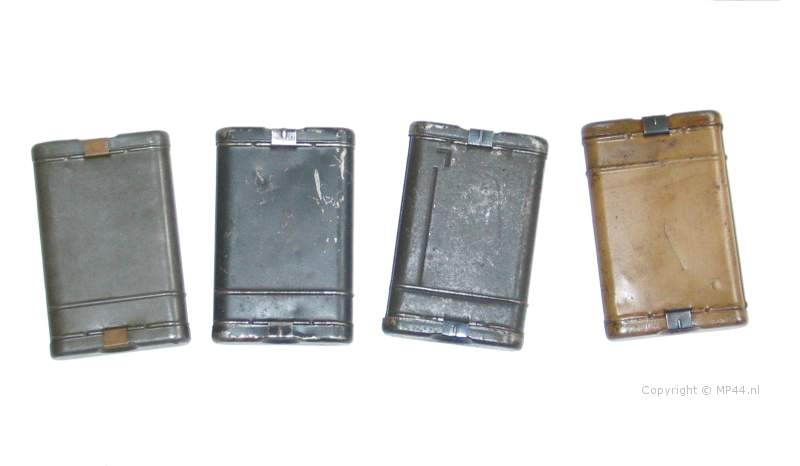
Pre war types are unpainted with
brass closure clips while war production RG's are painted ordnance
blue
and very late war types (44 / 45) also exist in ordnance tan.
The following maker marks are encountered:
cnx, CNX and 64 - Gustav Appel, Maschinenfabrik
cmr - Hawig, Hauswirtschafts-Maschinen-GmbH
Ky, KH, arr and rco - Braunschweigische Blechwarenfabrik GmbH
ab - Mundlos Aktien Gesellschaft, Nahmaschinenfabrik
ftd - Peter Schlesinger Metallwarenfabrik (rare)
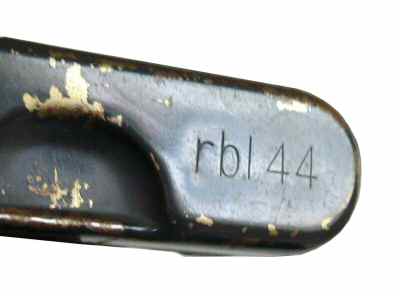
rbl - unknown
(here a picture of the rare rbl code)
Contents
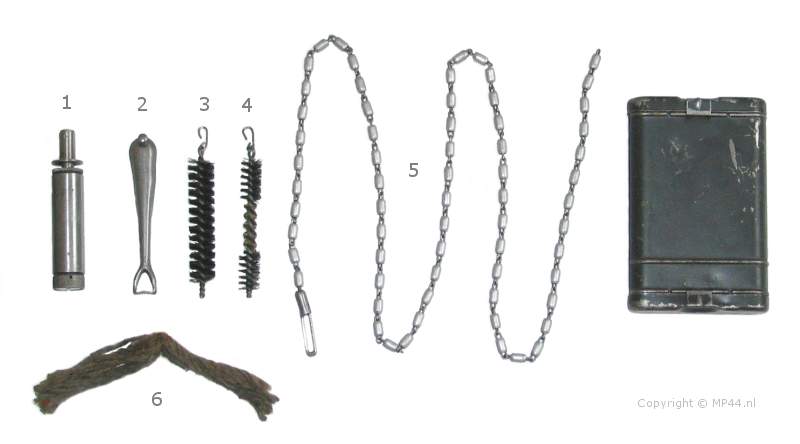
English
1 Oiler
2 Take-down tool
3 Oil brush
4 Cleaning brush
5 Pull through chain
6 Cleaning patch
German
1 Öltropfer
2 Hülsenkopfwischer
3 Ölbürste
4 Reinigungsbürste
5 Reinigungskette
6 Reinigungsdocht
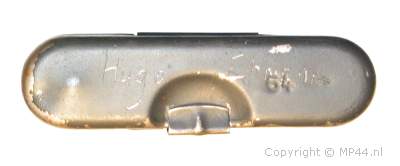
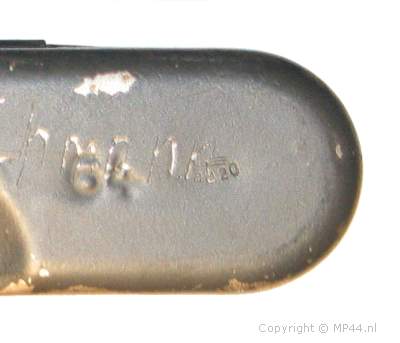
Here the top of the cleaning kit is shown
Clearly visible is the maker mark 64 and the WaffenAmt code 20 (WaA20)
Also the name of the owner is carved into the lid
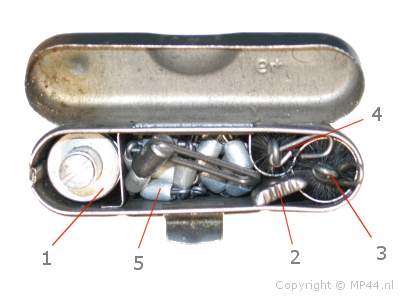
The opened "tobacco tin" (a name often given to the cleaning kit) with contents numbered as above.
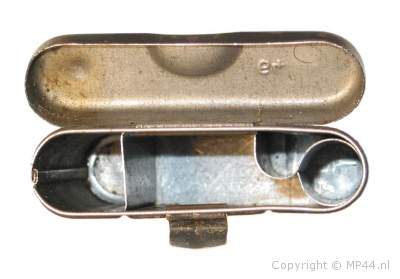
On the left the opened "tobacco tin" (a name often given to the cleaning kit) with contents numbered as above.
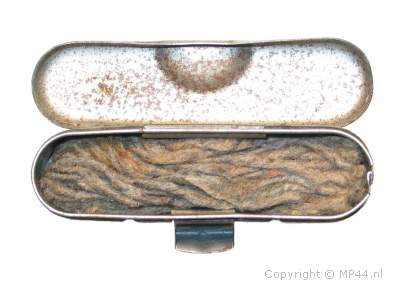
The small compartment on the bottom of the cleaning kit.
The cleaning patches are stored here.
Below the individual parts and usage are explained
1. The Oiler
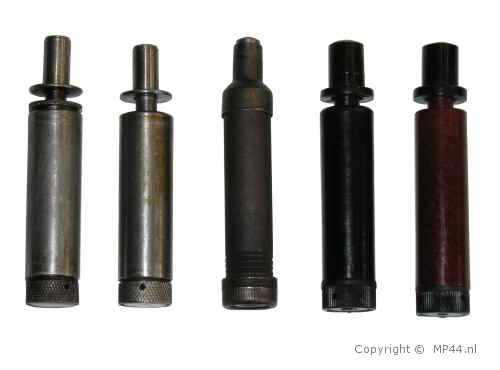
Here some different kind of oilers are shown.
from left to right
early war steel oiler
late war (simplified) steel oiler
late war black bakelite oiler
late war brown bakelite oiler
late war pressed steel oiler
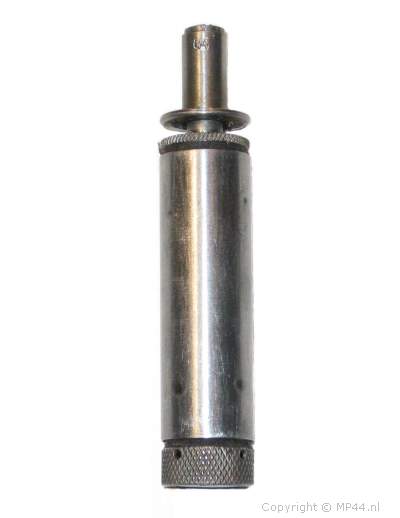
A detail picture of the steel oiler, also with code 64
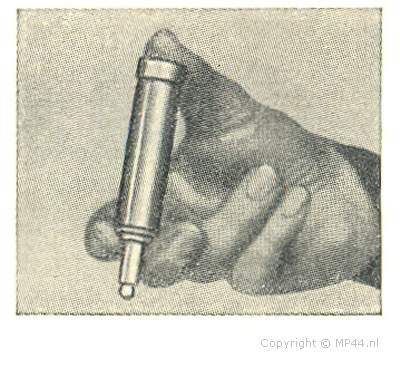
This picture comes from the "Unterrichtsbuch für Soldaten Ausbildungsjahr 1938/39" (Educational book for soldiers)
and shows the use of the oiler.
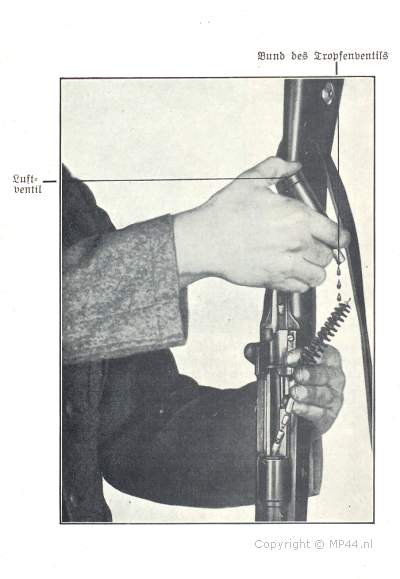
This picture comes from the booklet "Der karabiner 98k. und seine handhabung, Berlin 1936" and shows how to use the oiler on the Oil brush which is attached to the pull through chain.
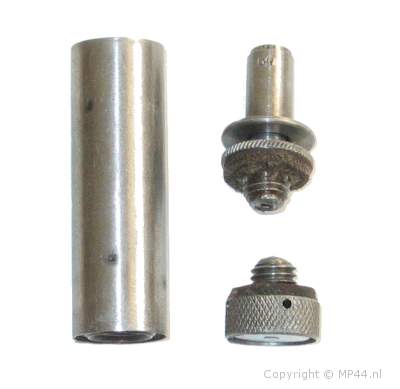
A detail picture of the 3 different components of the steel oiler.
The left part is the steel tube which contains the oil,
the lower part can be pushed in, to create pressure in the tube, then the upper part can be pushed in, to make a small opening which releases the oil.
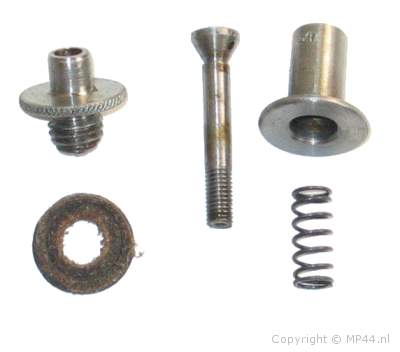
A detail picture of the different components of the top part.
2. The Take-down Tool
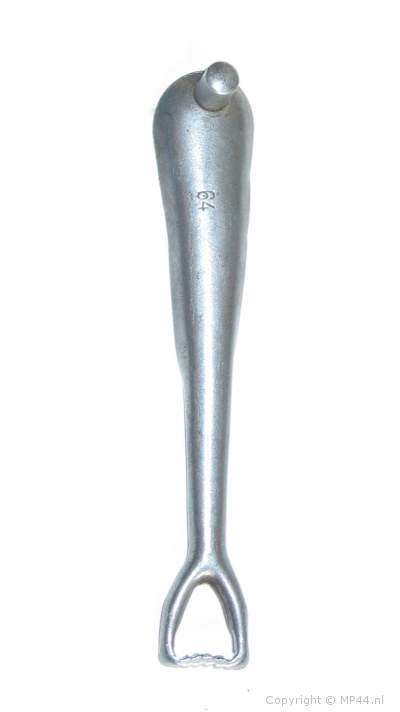
Here the Take-down tool ("Hülsenkopfwischer") is shown.
It also bears the same makers mark 64The usage of the take-down tool is dual:
1. To remove the floorplate on the K98 rifle
2. To clean the K98 (that's what the name Hülsenkopfwischer means)
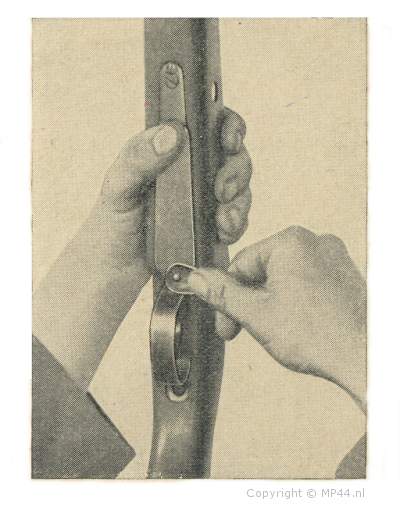
Here the Take-down tool is used to remove the floorplate of the K98 rifle.
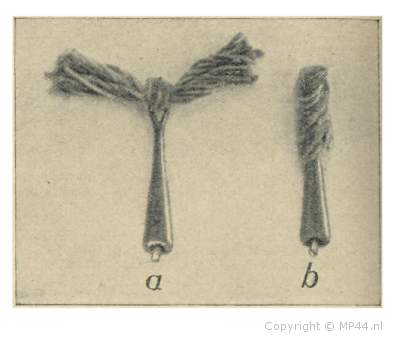
Here the cleaning patches are used.
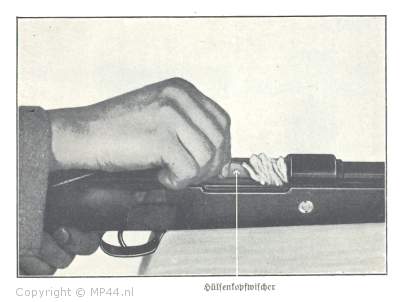
And here it is shown how to clean the rifle.
3. and 4. The Brushes
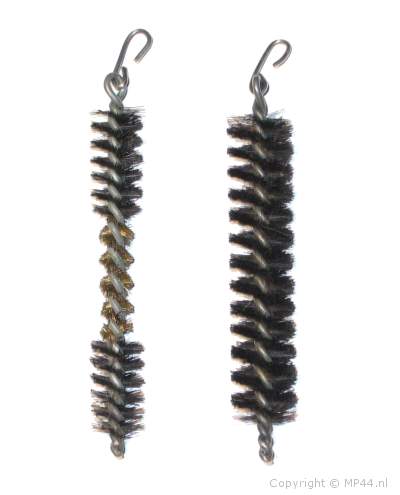
On the left, the cleaning brush is shown, while on the right the oiler brush is shown.
First the cleaning brush is used to clean the barrel, then the oil brush is used (as can be seen on the use of the oiler)
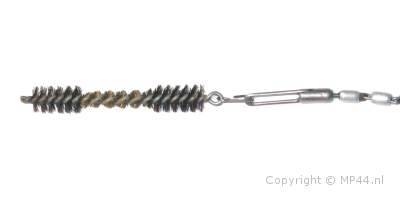
The cleaning brush is shown attached to the cleaning chain.
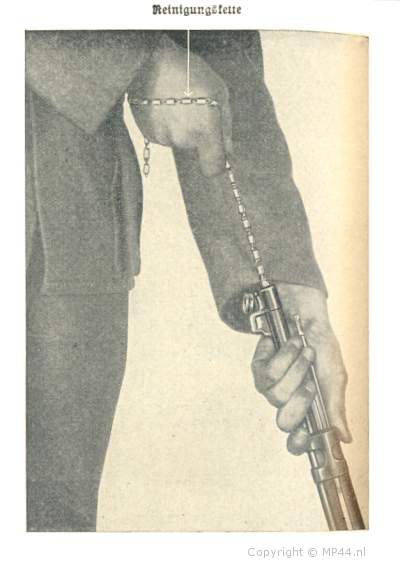
The cleaning brush is being pulled through the barrel of the K98 rifle.
5. The Cleaning Chain
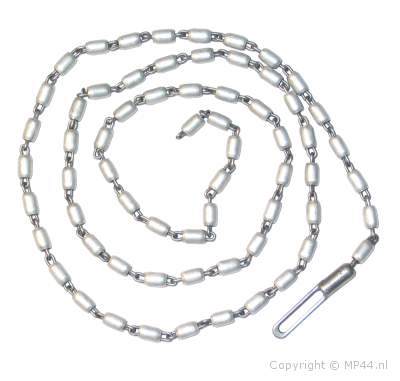
The cleaning brush is shown here.
It is aprox. 1 meter 8 centimeters long and consists of aprox. 66 pieces.
The usage is already explained above.
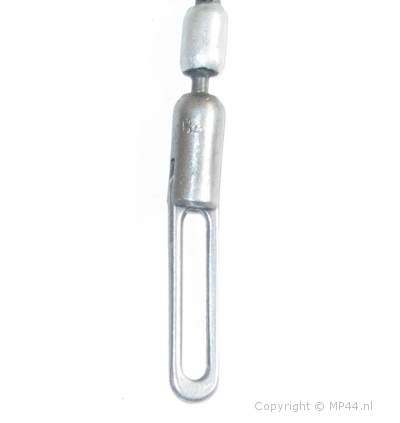
This example also has the code 64.
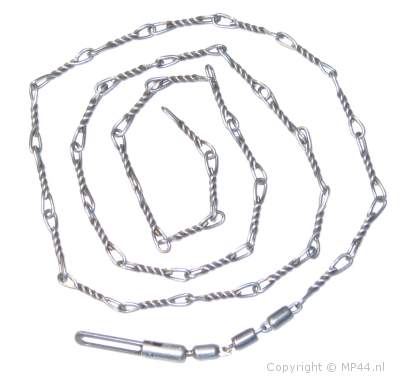
Here a late war cleaning brush is shown.
Note the difference in the links.
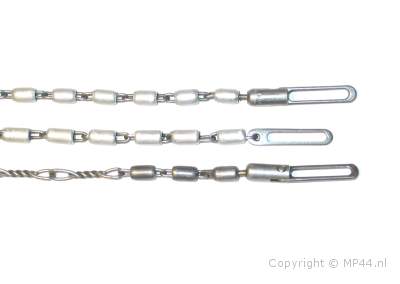
Different kind of chains.
6. The Cleaning patches
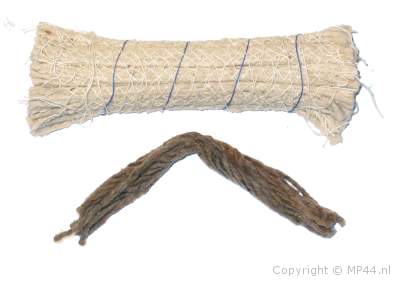
Finaly the cleaning patches are shown.
Above a set of clean unused patches.
Below an already use patch as found in the cleaning Kit
